
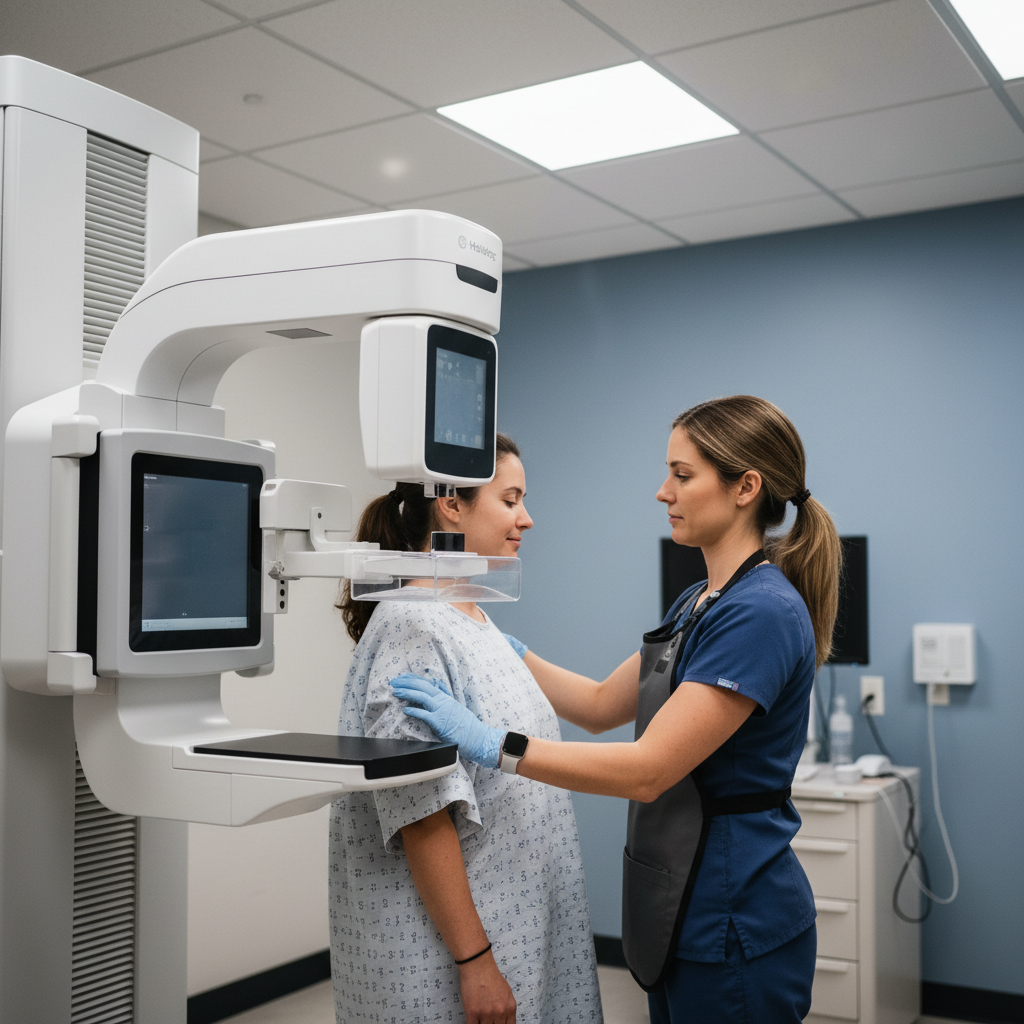
You know that sinking feeling when you review a study and realize the positioning isn’t quite right. Maybe there’s insufficient posterior tissue, or the pectoral muscle didn’t extend far enough on the MLO. Now you’re facing a tough call: send the images knowing they might prompt a callback, or bring the patient back for a repeat right now.
Patient callbacks are stressful for everyone involved. For the patient, it means anxiety and an extra trip. For you, it’s a quality measure that reflects on your technical skill. And for the radiologist, it complicates workflow and delays diagnoses. The good news? Most callbacks tied to technical factors are completely preventable once you understand the root causes.
Let’s break down the five most common mammography positioning errors that drive callbacks, plus the communication strategies and quality control habits that will help you get it right the first time.
Error One: Inadequate Pectoral Muscle Visualization on MLO Views
The mediolateral oblique view is the workhorse of screening mammography, and proper pectoral muscle visualization is your quality benchmark. The pec should extend down to the level of the posterior nipple line (PNL) or below, ideally forming that beautiful convex anterior border.
When the pectoral muscle is too high or appears concave, you’ve likely missed posterior tissue. This is one of the most common reasons radiologists request additional views, because they can’t confidently assess the upper outer quadrant where many cancers develop.
How to fix it:
- Check your tube angle — most facilities use 45 degrees, but some patients need adjustment between 40-60 degrees based on body habitus
- Position the patient’s shoulder and upper arm properly: relax the shoulder, bring the arm back, and ensure the shoulder isn’t hunching forward
- Lift the breast up and out before compression, pulling tissue away from the chest wall
- Use the corner of the detector as your landmark — it should sit high in the axilla
- Watch for rotation: the patient’s sternum and spine should be equidistant from the detector
Patient communication matters here. Explain that you need to “get as much tissue as possible,” and let them know the positioning might feel awkward but it’s temporary. A relaxed patient is easier to position correctly.
Error Two: Insufficient Posterior Tissue on CC Views
The craniocaudal view should capture the posterior nipple line measurement that’s within one centimeter of your MLO PNL. When you’re short on posterior tissue, you’re potentially missing lesions in the deeper breast tissue.
This error often happens when techs focus too much on getting the nipple in profile and forget about pulling tissue forward from the chest wall. Or the patient might be leaning back slightly, leaving tissue behind.
Your quality checklist:
- Ensure the patient is leaning into the unit — chest and abdomen should touch the detector
- Use both hands: one to lift and hold the breast onto the detector while the other smooths the inframammary fold
- Pull tissue from the lateral and medial sides toward the center
- Check for skin folds along the posterior edge; they indicate tissue left behind
- Measure PNL on both views during your immediate QC review
Many experienced mammo techs develop a routine of gently bouncing the breast tissue onto the detector to encourage maximum tissue displacement forward. It’s a small technique that makes a measurable difference.
Error Three: Motion Artifacts and Inadequate Compression
Motion blur and poor compression go hand in hand. When compression is inadequate, the breast is thicker, requiring longer exposure times that increase the chance of patient movement. The result? Blurred trabecular patterns that obscure fine detail and microcalcifications.
But here’s the nuance: adequate compression isn’t about maximum pressure. It’s about uniform breast thickness and immobilization. Some patients can’t tolerate high compression due to pain, recent surgery, or implants, yet you can still achieve diagnostic quality with proper technique and patient cooperation.
Strategies to minimize motion:
- Coach the patient to hold completely still and hold their breath during the exposure
- Use smooth, steady compression rather than quick, aggressive compression that causes the patient to tense up
- Explain what’s happening: “I’m going to apply compression now. You’ll feel pressure, and I need you to stay very still for just a few seconds.”
- Watch for muscle tremor in the pectoral — if you see it, pause and let the patient relax before exposing
- Review images immediately for motion; if present, repeat right away while the patient is still positioned
Document compression force in your technical notes. If you encounter a patient who genuinely can’t tolerate standard compression, communicate that to the radiologist so they can interpret with that context.
Error Four: Improper Nipple Positioning and Skin Folds
The nipple should be in profile on at least one view, preferably both. When the nipple is not clearly seen, it can mimic a mass or obscure an actual finding. Similarly, skin folds that overlap breast tissue can create confusing densities that prompt additional imaging.
This error is particularly common in patients with large, pendulous breasts or significant ptosis. The tissue wants to fall in a certain way, and fighting against natural breast anatomy without proper technique leads to folds and poor nipple visualization.
Practical tips for challenging anatomy:
- For ptotic breasts, support the breast from below and gently guide the nipple into position rather than trying to force it
- Smooth the skin from the chest wall forward, watching for any folds or wrinkles as you apply compression
- Use the paddle edge as a guide — keep it parallel to the chest wall on CC views
- If the nipple is naturally inverted or difficult to profile, document it and consider a rolled view if needed for the radiologist
- Check your images immediately: you should see the nipple as a distinct structure, not tangentially or superimposed over tissue
Remember, some anatomical variations are patient-specific and can’t be completely corrected. What matters is that you’ve made your best technical effort and documented any limitations.
Error Five: Failure to Perform Real-Time Image Quality Assessment
Here’s the positioning error that compounds all the others: sending images without a thorough self-QC review. In a busy clinic, it’s tempting to move quickly from patient to patient, but those extra thirty seconds of critical review prevent callbacks and protect your professional standards.
Real-time quality control means evaluating every image before the patient leaves the room. Check PNL measurements, pectoral muscle visualization, nipple position, skin folds, motion, and overall symmetry between sides. If something’s not right, you have the opportunity to correct it immediately rather than discovering the problem hours later when the radiologist reviews the study.
Your immediate QC workflow:
- Compare left and right sides for symmetry in positioning and exposure
- Measure posterior nipple line on MLO and CC views — they should be within 1 cm
- Verify pectoral muscle extends to or below the PNL on MLO
- Confirm nipple is in profile on at least one view per breast
- Look for motion, skin folds, or artifacts
- Check that labeling and markers are correct
Build this habit into your workflow until it becomes automatic. The few extra moments you invest in quality control will save hours of callback coordination and protect your patients from unnecessary anxiety.
Building a Culture of Quality in Breast Imaging
Reducing callbacks isn’t just about avoiding individual positioning errors — it’s about developing consistent habits and a quality-focused mindset. The best mammo techs treat every exam as if it’s their own family member being imaged.
Stay current with continuing education in mammography positioning and breast imaging technology. Participate in your facility’s peer review process. When you do get feedback about a callback, view it as a learning opportunity rather than criticism. Even experienced radiologic techs continue refining their technique throughout their careers.
Patient communication is also part of quality. When patients understand what you’re doing and why, they’re more cooperative with positioning and more tolerant of compression. That partnership between tech and patient directly improves image quality and reduces the need for repeats.
If you’re looking for your next opportunity in breast imaging or want to explore mammography positions that prioritize quality and professional development, the Intuites Recruiting Team is here to help. We work with facilities across the country that value skilled, detail-oriented imaging professionals. Reach out anytime at contact@intuites.healthcare or visit intuites.healthcare to learn about current openings. We’d love to hear about your career goals. ✨
#MammographyPositioning #MammoTech #BreastImaging #RadiologicTech #ImagingTech #MedicalImaging #RadTech #DiagnosticImaging #HealthcareQuality #PatientCare #MammographyQuality #WomensHealth #RadiologyEducation #ClinicalExcellence #HealthcareCareers
Looking for a healthcare team that truly sees your value?
The Intuites Recruiting Team is here to listen, support your career, and connect you with roles across the USA — when you're ready.