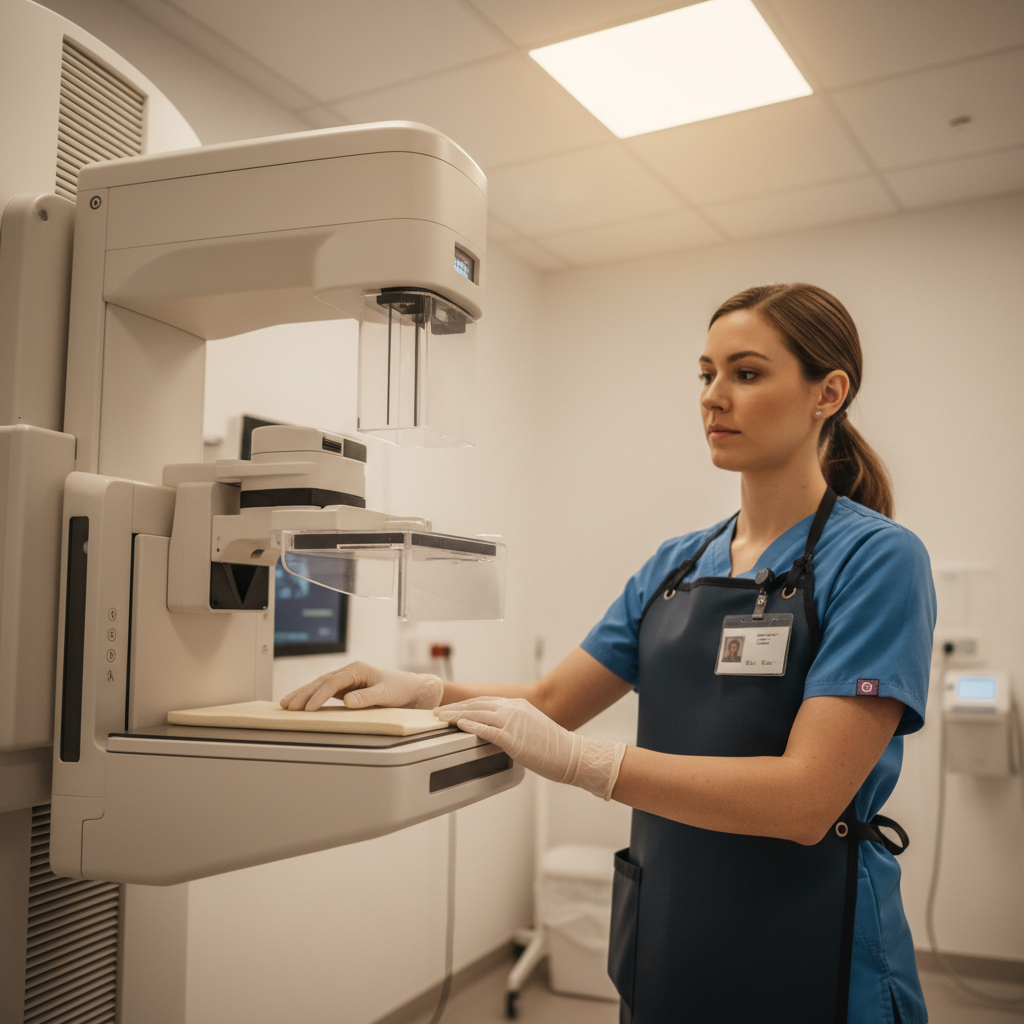
You know that feeling when you release the compression paddle and immediately realize the image won’t be diagnostic? Maybe the pectoralis isn’t quite deep enough, or there’s an unexpected fold throwing a shadow, or the nipple profile just isn’t centered the way you want it.
Every mammo tech has been there. And while we all learned the textbook positioning in school, the reality is that small adjustments — sometimes just a few millimeters or a slight rotation — make the difference between an adequate image and an exceptional one.
Here are three mammography positioning micro-tweaks that experienced techs rely on to consistently boost breast imaging quality. These aren’t radical overhauls; they’re subtle refinements that yield measurable results.
The Shoulder Roll: Your Secret Weapon for Pec Depth
Getting adequate pectoralis muscle on the MLO view is one of the most common challenges in mammography positioning, especially with patients who have broader shoulders or limited mobility. The standard cue — “relax your shoulder” — only goes so far.
Here’s the adjustment: before you position the breast on the receptor, gently guide the patient’s shoulder into a slight anterior roll. You’re not pushing hard; you’re encouraging the scapula to rotate forward and down, which naturally opens up the axillary space and allows the pectoralis to drape more easily onto the image receptor.
The technique:
- Position your patient at the correct receptor angle first
- Place one hand on the shoulder blade and gently roll it forward
- Use your other hand to lift and support the breast tissue as you guide it onto the platform
- Maintain that shoulder position as you bring the compression paddle down
- Check that the pec muscle is visible to or below the posterior nipple line
This single adjustment can add 1-2 centimeters of pec depth to your MLO images. It’s especially effective for patients with kyphosis or rounded shoulders, where the default positioning often leaves posterior tissue out of the field of view.
The Lift-and-Lean: Eliminating Inframammary Folds
Inframammary folds are one of the most frustrating artifacts in breast imaging quality control. They create dense lines that can obscure tissue and sometimes mimic pathology, leading to unnecessary recalls.
Most techs learn to “lift” the breast, but the magic is in the lean. After you’ve lifted the breast tissue onto the receptor, ask your patient to lean slightly forward into the machine — not just with the chest, but with the whole torso.
Why this works: When a patient leans forward, the breast tissue naturally falls away from the chest wall, and the skin at the inframammary fold stretches and smooths out. The compression paddle then captures the tissue in this elongated state, minimizing or eliminating the fold.
The sequence matters:
- Lift the breast completely onto the receptor with both hands
- Smooth the tissue from the chest wall outward toward the nipple
- Ask the patient to “lean forward into the machine just a bit more”
- Hold the tissue in place as you bring down initial compression
- Do a final visual check before full compression
You’ll notice the difference immediately. Instead of a prominent fold creating a dense horizontal line across the lower breast, you’ll see smooth, well-separated tissue. This is particularly important for CC views on patients with pendulous breasts or significant ptosis.
The Nipple-Profile Micro-Shift: Centering Without Repositioning
Achieving true nipple profile — where the nipple appears as a distinct point in the center of the breast shadow — can feel like threading a needle. You get the breast perfectly positioned, apply compression, and then notice the nipple is slightly lateral or medial.
The instinct is to decompress and start over. But here’s a time-saving mammo tech tip: often, you can correct nipple position with a micro-shift under light compression.
Once you have light compression applied, take a moment to assess nipple position. If it’s off by just a few millimeters, you can gently press the tissue from the opposite side to guide the nipple toward center. Think of it as ‘nudging’ rather than repositioning.
For example:
- If the nipple is pointing too far medially on a CC view, place your fingertips on the lateral breast tissue and apply gentle pressure medially, which shifts the nipple laterally
- If the nipple is pointing inferiorly on an MLO, apply gentle upward pressure on the lower breast tissue
- Make the adjustment slowly, watching the nipple position change in real time
- Once centered, proceed with full compression
This technique works because breast tissue is mobile under light compression. You’re not fighting against firm compression or risking patient discomfort by repositioning. You’re making a final refinement that improves image quality without adding extra time or requiring a complete do-over.
The result? Consistently centered nipple profiles that meet ACR standards and improve radiologist confidence in tissue visualization.
Why These Micro-Adjustments Matter for Breast Imaging Quality
Mammography positioning isn’t just about following a checklist. It’s about understanding tissue behavior, patient anatomy, and how small changes create measurable improvements in diagnostic accuracy.
When you consistently capture adequate pec muscle, eliminate artifacts like inframammary folds, and achieve true nipple profile, several things happen:
- Radiologists can visualize more tissue, especially in the posterior and axillary regions
- Recall rates decrease because fewer images are flagged for positioning-related artifacts
- Patient experience improves when you get it right the first time
- Your confidence grows, and your workflow becomes more efficient
These aren’t just ‘nice to have’ skills. They’re the difference between good mammography and great mammography. And in breast imaging, where early detection saves lives, that difference matters.
Keep Refining Your Technique
The best mammo techs are always learning, always refining. You might have ten years of experience, but there’s always a new patient body type, a new positioning challenge, or a subtle technique adjustment that makes your images even better.
Try incorporating these three tweaks into your next shift. Pay attention to how each adjustment changes your images. Notice which patients benefit most from the shoulder roll, or when the lift-and-lean makes the biggest difference.
Mammography positioning is both science and art. The science is in understanding anatomy and physics; the art is in those small, intuitive adjustments that transform a good image into an excellent one.
If you’re a mammography technologist looking for your next opportunity — whether that’s a permanent role with excellent continuing education support or a travel assignment in a state-of-the-art breast imaging center — the Intuites Recruiting Team would love to hear from you. We work with imaging professionals across the country to find positions that match both your technical skills and your career goals. Reach out anytime at contact@intuites.healthcare or visit intuites.healthcare to explore what’s available. 🤍
#MammographyPositioning #MammoTechTips #BreastImagingQuality #RadiologicTechnology #MammographyTech #DiagnosticImaging #HealthcareStaffing #MedicalImaging #RadTech #WomenHealth #BreastHealth #ImagingExcellence #MammoLife #HealthcareCareers #IntuitesHealthcare
Looking for a healthcare team that truly sees your value?
The Intuites Recruiting Team is here to listen, support your career, and connect you with roles across the USA — when you're ready.