
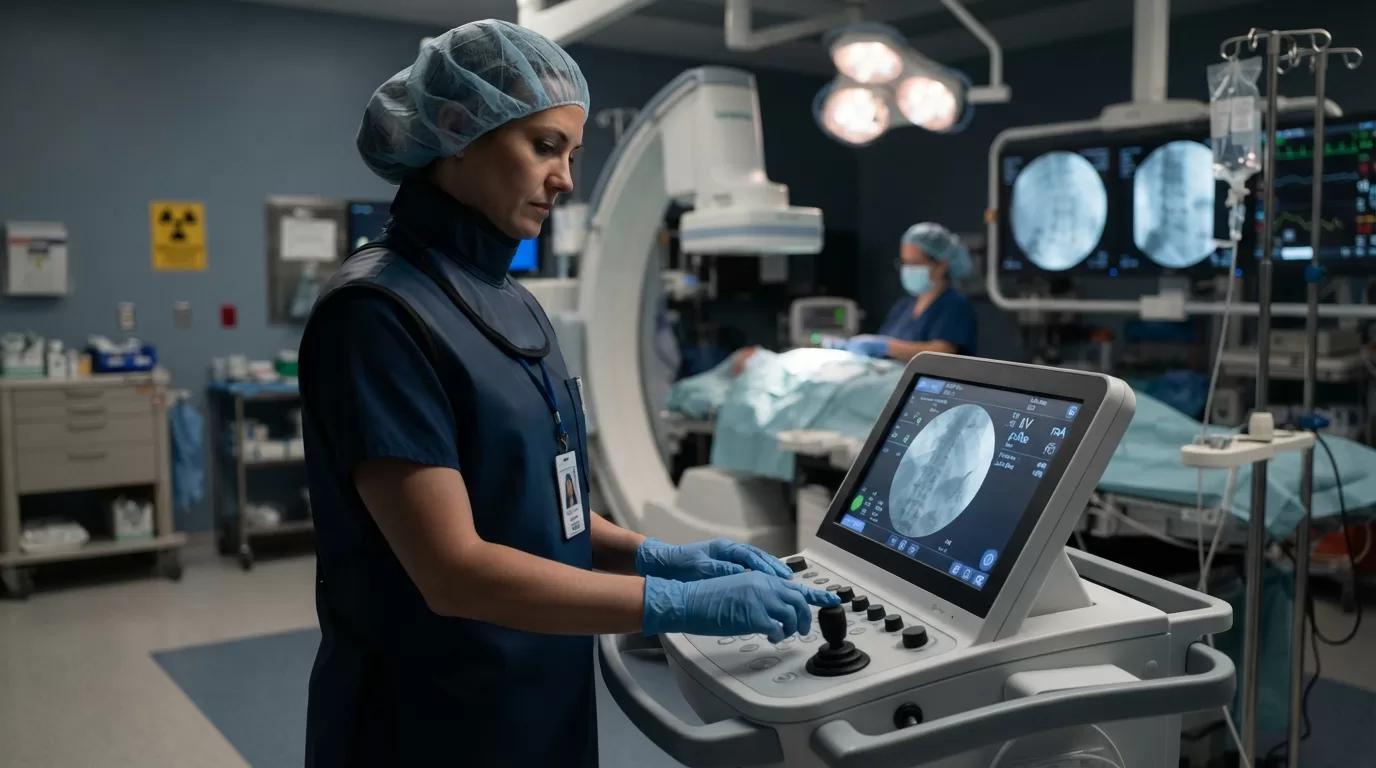
If you have spent any time at the fluoro tower, you know the tension: you need crystal-clear visualization for the interventionalist or GI team, but every second of beam-on time adds to your patient's cumulative radiation dose. As imaging technology races forward and patient volumes climb, mastering dose optimization is not just a compliance checkbox — it is the core skill that separates competent rad techs from exceptional ones.
The American College of Radiology and the Food and Drug Administration both released updated fluoroscopy dose benchmarks in early 2026, tightening reference levels and emphasizing real-time monitoring. Whether you are running barium swallows in a community hospital or supporting complex cardiac caths in a Level I trauma center, these techniques will help you deliver diagnostic-quality exams while honoring the ALARA principle: As Low As Reasonably Achievable.
Let's walk through the protocols and adjustments that make the biggest difference — from beam geometry to pulse-rate selection to the often-overlooked power of last-image-hold.
Understanding the 2026 Dose Reference Levels
The FDA's Center for Devices and Radiological Health published revised diagnostic reference levels for fluoroscopy in January 2026, building on multi-year data from the National Evaluation of X-ray Trends program. For routine gastrointestinal studies, the new benchmark sits at five gray-centimeter-squared (Gy·cm²) air kerma-area product, down from the previous seven Gy·cm² guidance. Interventional cardiology and vascular procedures carry higher thresholds — typically fifteen to twenty Gy·cm² — but the message is consistent: every facility should track dose metrics case by case and flag outliers for review.
These are not legal limits. They are quality benchmarks. If your department's median dose consistently runs above the reference level, it signals an opportunity to refine technique, upgrade equipment, or retrain staff. The Joint Commission now expects imaging leaders to document dose-reduction initiatives during survey visits, so staying current on these numbers protects both patients and your facility's accreditation standing.
What does this mean for you at the console? First, make dose display your baseline habit. Modern fluoro systems show real-time cumulative dose on the monitor — acknowledge that number before you start, check it mid-procedure, and log it at the end. Second, understand that even small reductions multiply across hundreds of cases per year. Shaving one Gy·cm² off every upper GI study translates to measurable population-level benefit.
Collimation: Your First and Fastest Win
Tight collimation is the single highest-impact adjustment you can make, yet it remains underutilized in busy departments. When you open the collimator blades wide, you irradiate anatomy outside the region of interest, generating scatter that degrades image contrast and increases dose to both patient and staff. Narrowing the field to exactly the area the physician needs to see cuts scatter radiation by thirty to forty percent and sharpens the image at the same time.
Here is the step-by-step every rad tech should master:
- Before bringing the patient into the room, set your collimation as tight as the exam type allows — for an esophagram, that means a vertical rectangle from the cervical spine to the gastroesophageal junction.
- Use the last-image-hold (we will cover this in detail below) to confirm your collimation during the procedure rather than leaving the beam on while you adjust.
- When the physician asks you to pan or angle, re-collimate immediately to the new anatomy of interest instead of leaving the field open from the previous view.
- On lateral or oblique projections, remember that your field of view changes — collimation you set in AP may be too wide once you rotate the C-arm.
One common mistake: techs worry that tight collimation will force them to reposition mid-exam, so they leave extra margin 'just in case.' In practice, modern flat-panel detectors and digital zoom let you fine-tune the displayed region without reopening the blades. Trust your collimation. Your dosimeter — and your patient — will thank you.
Pulsed Fluoroscopy and Frame-Rate Selection
Continuous fluoroscopy runs the X-ray beam without interruption, thirty frames per second, for as long as you hold the footswitch. Pulsed fluoroscopy fires short bursts separated by brief pauses, creating the illusion of continuous motion while dramatically cutting total beam-on time. Most contemporary systems offer pulse rates from three to thirty frames per second, and choosing the right rate for each exam is a skill worth cultivating.
For diagnostic GI studies — barium swallow, upper GI series, small-bowel follow-through — fifteen frames per second strikes the ideal balance. You preserve smooth visualization of peristalsis and bolus transit while reducing dose by roughly fifty percent compared to continuous mode. The American Association of Physicists in Medicine recommends fifteen fps as the default for nearly all fluoroscopic imaging, reserving higher rates only for fast-moving anatomy like the beating heart during cardiac catheterization.
Lower rates — six to ten fps — work beautifully for static or slow-moving structures: positioning a catheter tip, evaluating joint spaces during arthrography, or checking hardware placement in orthopedic cases. The image updates less frequently, but because the physician is not tracking rapid motion, diagnostic confidence remains high and dose drops even further.
Make it a habit to confirm your pulse rate at the start of every case. Many systems remember the last user's settings, so if the interventional radiologist before you ran at thirty fps for a complex angiogram, your barium swallow might inadvertently inherit that high rate unless you reset it. A quick glance at the control panel — and a deliberate adjustment — can halve your patient's exposure before you even press the pedal.
One technique refinement: when you do need a higher frame rate for a brief dynamic phase — say, capturing the exact moment of contrast bolus arrival — switch to the higher rate only for those critical seconds, then return to your lower default. Modern foot pedals often include a boost button that temporarily raises the frame rate without changing your baseline setting.
According to the Radiological Society of North America's physics tutorials, pulsed fluoroscopy at optimized frame rates can reduce patient entrance dose by sixty to seventy percent in routine procedures, with no loss of diagnostic information. That is a technique change every rad tech can implement tomorrow.
Geometry, Magnification, and Source-to-Skin Distance
Beam geometry might sound like physics-class theory, but it translates directly into dose at the patient's skin. The inverse-square law tells us that radiation intensity drops with the square of the distance from the source: double the distance and you cut the dose to one-quarter. In fluoro, that means maximizing source-to-skin distance (SSD) whenever possible — raising the X-ray tube away from the patient or lowering the table.
Most guidelines recommend maintaining at least thirty centimeters SSD for routine work and thirty-eight centimeters for high-dose interventional cases. If your tube is parked close to the patient because someone left it that way after the last exam, you are delivering unnecessary dose. Before you start imaging, check the geometry: tube low (away from the patient on an over-table system) or high (away on an under-table setup), detector close to the patient to minimize scatter, and enough clearance that you are not crowding the anatomy.
Magnification mode is another geometry lever, but it is a double-edged sword. When you magnify, the system electronically zooms the image, which can improve visualization of small structures — but it also increases dose because the automatic brightness control ramps up technique to maintain image quality over a smaller field. Use magnification only when truly needed for diagnosis, not as a default comfort setting. The ACR's fluoro dose optimization toolkit notes that switching from normal to maximum magnification can triple patient dose for the same field of view.
One practical tip: instead of magnifying, try moving the image intensifier or flat-panel detector closer to the patient first. You gain a similar enlargement effect through geometric magnification with far less dose penalty. If that does not provide enough detail, then engage electronic mag mode — but stay aware of the dose trade-off and return to normal mode as soon as the physician has seen what they need.
Last-Image-Hold and the Art of Intermittent Fluoro
Last-image-hold is the most underutilized dose-saving feature on every fluoro system. When you release the footswitch, the monitor freezes the final frame, letting you and the physician study the anatomy without continued radiation. Need to adjust collimation, reposition the patient, or discuss the next step? Do it with last-image-hold up on the screen, not with live fluoro running.
This technique requires a mindset shift. Many techs — and physicians — grew accustomed to older systems where releasing the pedal meant losing the image, so they kept the beam on during pauses. Modern digital fluoroscopy eliminates that excuse. The last image stays sharp and bright until you deliberately clear it or press the pedal again. Make it your default: foot off the pedal whenever you are not actively acquiring new diagnostic information.
Pair last-image-hold with intermittent fluoro technique: short bursts of imaging to confirm anatomy or catheter position, then beam off while the physician advances the wire or the patient swallows the next bolus of barium. This approach can cut total fluoro time by half or more in procedures that include natural pauses — which is nearly every procedure once you start looking for them.
Teach your physicians this workflow if they are not already using it. A gentle 'I am going to hold this image while you reposition' establishes the pattern without sounding preachy. Most interventionalists and radiologists appreciate the reminder, especially when they see the cumulative dose numbers trending down over time.
Real-World Integration and Team Communication
Technique mastery only delivers results when the whole care team is on board. Fluoroscopy is collaborative: the rad tech controls the beam, but the physician controls the pace and decision-making. That means dose reduction is a shared responsibility, and clear communication is your most powerful tool.
Before every case, brief the physician on your dose-reduction plan: 'I have us set at fifteen frames per second for this upper GI — let me know if you need me to bump it up at any point.' During the case, narrate what you are doing: 'Tightening collimation now' or 'I will grab a spot image here so we can review it without fluoro running.' After the case, share the cumulative dose with the team — not as criticism, but as data: 'We came in at four-point-two Gy·cm² today, right on target for the new benchmarks.'
When you work with rotating physicians or locum staff who may not know your equipment, take an extra moment to show them the last-image-hold button and explain your facility's dose goals. A two-minute orientation at the start of the day can prevent hours of unnecessary exposure over the course of a case list.
Finally, log your dose metrics and review them monthly. Most PACS systems and dose-monitoring software can generate reports showing your department's performance against reference levels. If you notice cases consistently running high, investigate: Is it operator technique, equipment calibration, or case complexity? Use the data to guide targeted training or equipment upgrades, and celebrate improvements when you see dose trending down.
Fluoroscopy dose reduction is not about cutting corners or sacrificing image quality — it is about precision, intentionality, and respect for the physics that govern our work. Every frame rate adjustment, every millimeter of collimation, every second of beam-off time adds up. And when you master these techniques, you become the rad tech every physician wants at the tower: confident, skilled, and committed to doing right by every patient.
If you are ready to take your imaging career to the next level — whether that means traveling to a facility with cutting-edge fluoro equipment or joining a team that prioritizes dose optimization — explore open radiology and CT opportunities at Intuites. Or reach out directly to contact@intuites.healthcare with questions about dose-monitoring tools and training resources at your next assignment.
Sources
Ready for your next imaging assignment?
Browse open imaging jobs across the US — weekly pay, stipends, and a recruiter who reads every application.