
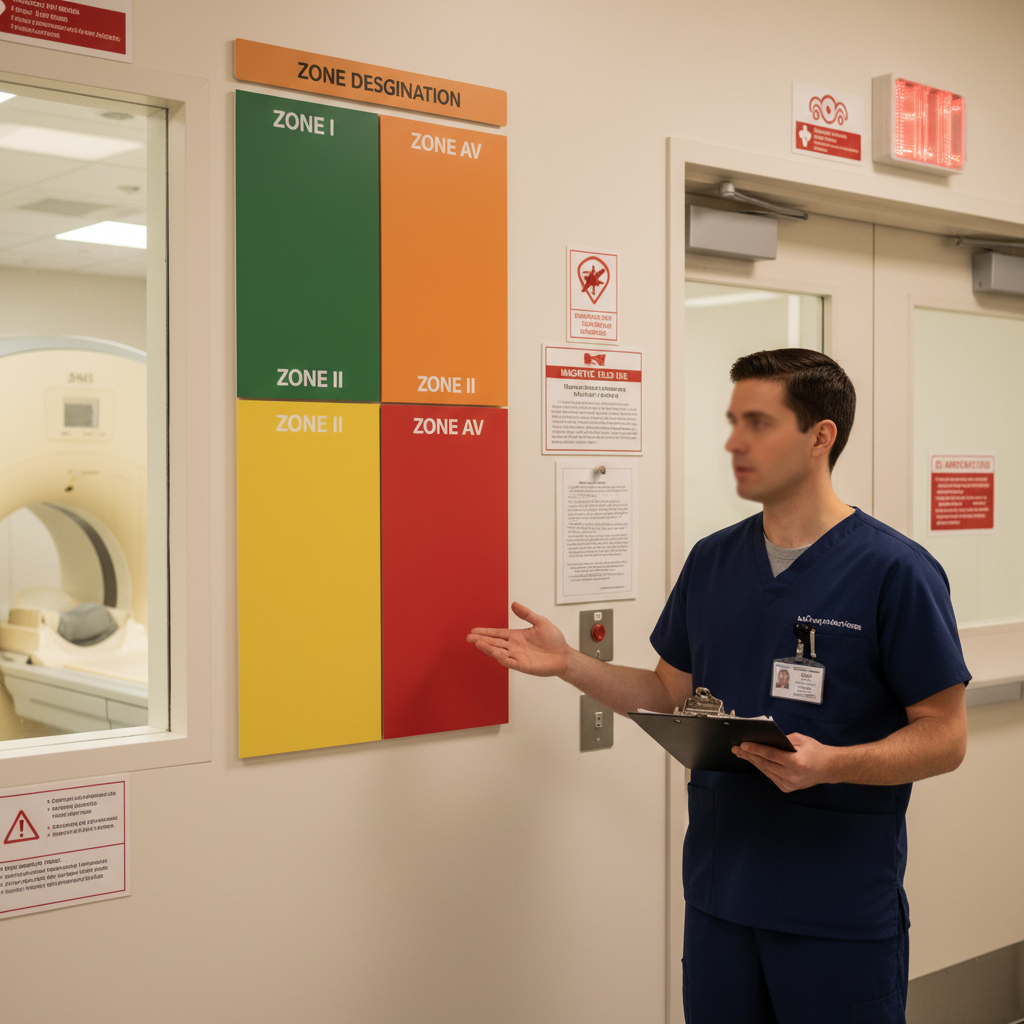
A reader emailed last month asking if we could do a “back-to-basics” MRI safety zones refresher. Not because they didn’t know the material — but because a near-miss in their department made everyone realize how easy it is to get complacent when you walk past those zone signs fifty times a week.
So here it is: the interactive Q&A-style MRI tech refresher on Zones I through IV that you can bookmark, share with your team, and pull up the next time someone asks “wait, can I bring this in here?”
Let’s dive in. And yes, we’re covering near-miss reporting too — because that’s where the real learning happens.
Quick Reset: What Are MRI Safety Zones, Actually?
The American College of Radiology divides MRI facilities into four zones based on magnetic field strength and access control. It’s not just bureaucracy — it’s the framework that prevents projectile injuries, device malfunctions, and the kind of incidents that end up in safety bulletins.
Here’s the lightning round:
- Zone I: Public areas. No restrictions. The hospital lobby, the general hallway outside imaging.
- Zone II: The interface between public and restricted. This is your waiting area where patients get screened before moving forward.
- Zone III: Restricted access. Only screened personnel and patients. Still outside the magnet room, but under your control.
- Zone IV: The magnet room itself. The room with the big tube and the always-on magnetic field that will absolutely pull a floor buffer across the room if someone isn’t paying attention.
Most safety incidents happen at the boundaries — when someone doesn’t realize they’ve crossed from Zone II into Zone III, or when a well-meaning EVS staff member opens the wrong door.
The Scenarios That Actually Trip People Up
Q: A patient’s family member follows them past the Zone II waiting area because they ‘just want to ask you one quick question.’ What do you do?
A: Stop them. Politely but immediately. Zone III is restricted access, which means anyone entering needs to be screened and supervised. Even if they’re not going into the magnet room, they’re now in an area where MR-Conditional equipment might be staged, where you’re prepping patients, and where the controlled environment starts. Walk them back to Zone II, answer their question there, and remind them that safety zones exist for everyone’s protection.
Q: You’re in Zone IV prepping a patient when a code blue gets called overhead for a different unit. Do you leave the magnet room door open?
A: Absolutely not. Zone IV access must be controlled at all times when the magnet is energized — which, unless you’re in the middle of a quench or scheduled shutdown, means always. If you need to step out, close and secure the door. The magnetic field doesn’t take a break for emergencies, and that’s exactly when someone rushing with a crash cart might make a wrong turn.
Q: Your facility just installed a new ferromagnetic detection system at the Zone III/IV boundary. Can you skip the verbal screening now?
Nope. Ferromagnetic detectors are an excellent additional layer — but they’re not a replacement for your screening process. They catch the obvious stuff (scissors in a pocket, forgotten hemostats), but they won’t detect non-ferrous items that are still unsafe in the MRI environment, and they don’t replace the clinical judgment you bring to patient history. Think of the detector as backup, not autopilot.
Zone IV Protocol: The Rules That Never Bend
Let’s be really clear about what’s allowed in the magnet room, because this is where “just this once” turns into an incident report.
Only three categories of items belong in Zone IV:
- MR-Safe: No metal, no electronics, no risk. These items have been tested and pose no hazard. Think plastic clipboards, specific patient positioning aids, approved gowns.
- MR-Conditional (when conditions are met): These items are safe only under specific circumstances — certain field strengths, specific placement, particular settings. You need to verify every single parameter before bringing something MR-Conditional into Zone IV. If you’re not 100% sure, it doesn’t go in.
- The patient (after screening): And even then, you’re verifying implants, devices, and history every single time.
Everything else? Stays in Zone III or earlier. No exceptions for ‘small’ items, no exceptions for ‘I’ll only be a second,’ no exceptions for anyone’s convenience.
If you’re ever unsure about an item’s safety designation, consult your MRI safety officer or check MRIsafety.com before making the call. Guessing is not part of zone IV protocol.
Near-Miss Reporting: The Part Nobody Likes But Everyone Needs
Here’s the thing about near-misses: they’re called ‘near’ misses because nothing bad happened yet. But they’re also called ‘near’ misses because something bad almost did — and reporting them is how we prevent the actual miss.
A near-miss might look like:
- A ferromagnetic object brought to the Zone III/IV threshold before someone caught it
- A non-screened person entering Zone III
- An MR-Conditional device brought into Zone IV without verifying parameters
- A patient who mentions a possible implant after they’re already on the table
Most facilities require near-miss reporting within 24 hours. Some want it immediately. Know your department’s policy, and don’t let embarrassment or ‘we caught it in time’ logic keep you from filing the report.
Why? Because near-miss data is how safety officers identify patterns. Maybe the Zone III door lock is failing intermittently. Maybe the signage at one entrance is confusing. Maybe there’s a workflow issue during shift change that’s creating gaps. You can’t fix what you don’t document.
One More Thing: The Annual Refresher Isn’t Optional
Even if you’ve been running MRI for a decade, the annual MRI safety refresher training isn’t a formality — it’s a requirement under ACR guidance and Joint Commission standards. Policies update. Equipment changes. New conditional devices hit the market. And frankly, we all benefit from the reminder.
If your facility doesn’t have a robust annual MRI tech refresher program, that’s a red flag worth raising with your safety officer or imaging director. This isn’t about checking a box; it’s about making sure every single person with Zone IV access is operating from the same current playbook.
So whether you’re three months into your first MRI role or you’re the veteran tech everyone comes to with questions — bookmark this. Share it with your team. And the next time someone asks ‘can I just grab that really quick,’ you’ll know exactly which zone they’re standing in and exactly what the answer is.
Looking for an imaging department that takes safety culture seriously — and values the techs who uphold it every single day? The Intuites Recruiting Team works with MRI, CT, X-ray, and ultrasound travelers and perm candidates across the country. Reach out anytime at contact@intuites.healthcare or visit intuites.healthcare to see what’s available. We’re here when you’re ready. 🤍
#MRISafetyZones #ImagingTech #MRITech #RadiologySafety #ZoneIVProtocol #MRITechRefresher #DiagnosticImaging #HealthcareStaffing #TravelRadTech #ImagingSafety #MRISafety #RadTech #CTTech #IntuitesCareers #MedicalImaging
Looking for a healthcare team that truly sees your value?
The Intuites Recruiting Team is here to listen, support your career, and connect you with roles across the USA — when you're ready.