
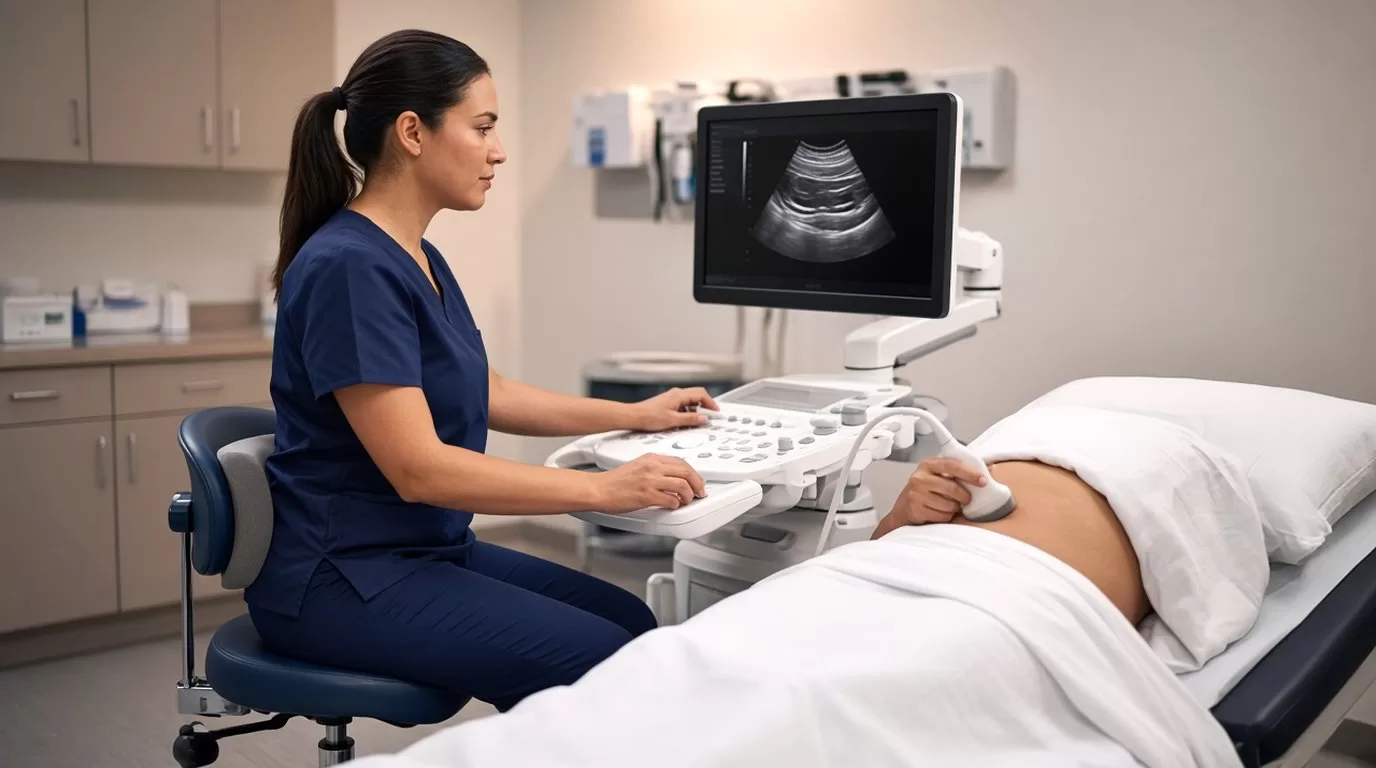
If you’ve been scanning for more than a year, you already know the ache. Right shoulder tension by Wednesday. Wrist soreness after a full day of obstetric exams. That persistent neck stiffness that no amount of weekend rest seems to fix.
You’re not imagining it, and you’re not alone. According to the Bureau of Labor Statistics, diagnostic medical sonographers report musculoskeletal disorders at rates significantly higher than the average for all healthcare practitioners. A 2025 study published in the Journal of Diagnostic Medical Sonography found that more than 90 percent of practicing sonographers experience work-related musculoskeletal pain at some point in their careers, with the shoulder, neck, and wrist being the most commonly affected areas.
The good news? Most ultrasound tech injury is preventable when you implement the right sonographer ergonomics from the start of every shift. This protocol breaks down the evidence-based setup and movement patterns that protect your body without slowing down your workflow.
Why Sonographer Ergonomics Matters More Now
The imaging landscape has changed. Exam volumes are up. Portable studies mean you’re scanning in awkward spaces more often. Equipment updates don’t always keep pace with ergonomic research.
Meanwhile, the average sonographer career span is shortening. Many experienced techs leave the field or reduce hours not because they’ve lost interest in the work, but because chronic pain makes full-time scanning unsustainable. That represents a significant loss of skill and institutional knowledge at a time when demand for imaging services continues to climb.
MSK prevention imaging starts with understanding the specific biomechanical stressors unique to sonography. Unlike radiology techs who position patients and step away, or CT technologists who work at fixed consoles, sonographers maintain sustained awkward postures while applying variable transducer pressure and making continuous fine motor adjustments. That combination — static loading plus repetitive motion — creates the perfect storm for cumulative trauma.
The Society of Diagnostic Medical Sonography has identified five primary risk factors: prolonged static postures, repetitive movements, forceful exertions, contact stress from gripping the transducer, and inadequate recovery time between exams. Address those five, and you eliminate the majority of injury pathways.
The 2026 Equipment Setup Protocol
Proper sonographer ergonomics begins before you ever touch a transducer. Every piece of equipment in your scan room should be positioned to support neutral body alignment, not fight against it.
Monitor Positioning
Your ultrasound monitor should sit directly in your line of sight when your head is in a neutral position. That means the top third of the screen falls at or slightly below eye level, angled 15 to 20 degrees downward. Distance matters, too — place the monitor one arm’s length away, roughly 20 to 28 inches from your eyes.
This setup prevents the forward head posture that strains your cervical spine. For every inch your head moves forward from neutral, you add approximately ten pounds of additional force on your neck structures. After eight hours of scanning with poor monitor placement, that adds up to significant cumulative load.
Chair and Stool Height
Your seat height should position your elbows at 90 to 110 degrees of flexion when your hands rest on the keyboard or control panel. Your feet should rest flat on the floor or on a footrest if the optimal elbow angle requires a higher seat.
Choose a stool with a small backrest if possible. Even minimal lumbar support reduces the muscular effort required to maintain upright posture during long exam sequences. Adjust the backrest to support the natural curve of your lower back without forcing you to lean backward away from your work.
Patient Table Height and Position
Here’s where many sonographers make a critical error: they adjust their own body position to reach a patient who’s too far away or too low, rather than adjusting the table height and position first.
The patient should be close enough that you can scan without reaching. Your scanning arm should remain close to your body, with your elbow bent between 90 and 120 degrees. The table height should allow this arm position without requiring you to elevate your shoulder or hunch forward.
For most sonographers, optimal table height places the scanning surface approximately at the level of your seated elbow. This varies based on your height and the type of exam, so adjust accordingly rather than accepting a default position.
Keyboard and Control Placement
Position your keyboard and trackball on an articulating arm that brings controls into your neutral reach zone — the area you can access without extending your arm or rotating your trunk. Your wrist should remain straight, not bent upward or downward, when you press keys or manipulate the trackball.
If your system uses a touch screen, position it within the same neutral reach zone. Repetitive reaching to a touch screen placed too high or too far away contributes to shoulder strain over time.
The Micro-Break System That Actually Works
Equipment setup is half the equation. The other half is movement. Your body needs regular position changes and recovery intervals, even during busy shifts.
The most effective approach: micro-breaks of 20 to 30 seconds every 15 minutes of continuous scanning. Research published by the American Institute of Ultrasound in Medicine demonstrates that frequent short breaks reduce muscle fatigue more effectively than infrequent longer breaks of the same total duration.
What counts as a micro-break? Any activity that changes your posture and gives your scanning arm a true rest:
- Stand and take three deep breaths while rolling your shoulders backward
- Walk to the sink to clean a transducer while gently shaking out your hands
- Step outside the room to give the patient privacy during a position change
- Perform five slow neck rotations in each direction
- Stretch your scanning arm across your body for ten seconds
The key is consistency. Set a quiet timer or use your system’s exam timestamp to remind yourself. Micro-breaks feel awkward at first, especially when you’re focused on obtaining diagnostic images. But they become automatic within a week or two, and the reduction in end-of-day fatigue is noticeable almost immediately.
Transducer Grip and Scanning Technique
How you hold the transducer determines how much force travels through your hand, wrist, and forearm with every sweep and compression.
Use the lightest effective grip. Many sonographers grip far more tightly than necessary, especially when learning a new application or working on a difficult patient. Excess grip force increases muscle tension throughout your entire arm and shoulder.
Adjust your grip throughout the exam. Alternate between a pencil grip for detailed work and a palm grip for broader sweeps. Switching hand positions distributes mechanical stress across different muscle groups.
Apply pressure through your whole arm, not just your wrist or hand. When you need to compress tissue for better visualization, the force should come from your shoulder and core, with your wrist remaining neutral. Think of your arm as a single unit from shoulder to transducer, rather than trying to generate pressure by bending your wrist.
Avoid ulnar deviation — that sideways wrist bend that happens when you angle the transducer without repositioning your body. If you need a different transducer angle, rotate your stool or adjust the patient position instead of torquing your wrist.
The Reach Rule
If you have to reach more than 12 inches from your torso to scan effectively, something in your setup is wrong. Stop, reposition the patient or adjust your chair, then continue. That two-second reset prevents the kind of prolonged reaching that causes rotator cuff problems down the road.
Portable Scanning and Bedside Ergonomics
ICU and bedside exams present the biggest ergonomic challenges. You’re working in spaces not designed for imaging, often with patients who can’t be repositioned easily.
Bring a portable stool whenever possible. Standing scans force you into more awkward postures and fatigue you faster. Even a simple rolling stool gives you better control over your body position.
Adjust the portable machine height before you start. Most rolling ultrasound systems have a height adjustment for the monitor and control panel. Take 15 seconds to set it properly rather than scanning in a compromised position for 20 minutes.
Position yourself on the side of the bed that allows the most neutral scanning posture, even if that means walking around to the opposite side from where you initially approached. The side with fewer IV poles and less equipment clutter is usually your best choice.
For patients who truly cannot be moved, scan in segments with rest intervals between positions. It’s better to take two minutes longer and maintain good body mechanics than to power through in a twisted posture that leaves you sore for the rest of your shift.
Building an Injury-Prevention Routine
Sonographer ergonomics isn’t just about what you do during scans. What you do before and after your shift matters, too.
Start each shift with a two-minute mobility sequence. Shoulder circles, neck rolls, wrist flexion and extension, and torso rotation prepare your tissues for the work ahead. Think of it as warming up before athletic activity — because sustained scanning is an endurance event for your musculoskeletal system.
End each shift with a similar cool-down. Gentle stretching for your neck, shoulders, forearms, and hands helps clear metabolic waste products and reduces next-day soreness.
Pay attention to early warning signs. Fatigue that doesn’t resolve overnight, persistent soreness in a specific location, tingling or numbness in your hands, or pain that worsens as your shift progresses — these are signals to adjust your technique or seek guidance before a minor issue becomes a chronic injury.
Many imaging departments now offer annual ergonomic assessments where an occupational health specialist observes your scanning technique and suggests individualized modifications. If your facility provides this service, use it. An outside eye often catches positioning habits you don’t notice yourself.
Making the Protocol Work in Real Workflow
The most common objection to better sonographer ergonomics: “I don’t have time for all this setup and all these breaks when I have 15 patients waiting.”
The truth is exactly the opposite. Proper setup and micro-breaks save time over the course of your career by keeping you healthy enough to work full shifts without pain limiting your speed or forcing you to reduce hours.
The initial equipment adjustment takes 30 seconds per patient. Micro-breaks add perhaps two minutes across a 45-minute exam. That’s a tiny investment for a significant reduction in injury risk.
More importantly, pain and fatigue slow you down more than breaks do. Sonographers working in discomfort scan less efficiently, take longer to obtain diagnostic images, and make more errors that require repeat exams. Good ergonomics actually improves your productivity, not just your comfort.
Moving Forward
Musculoskeletal injury doesn’t have to be the inevitable price of a long sonography career. The 2026 protocol gives you a clear framework: set up your equipment to support neutral postures, take frequent short movement breaks, use proper transducer technique, and listen to early warning signs from your body.
Implement one element this week. Maybe it’s adjusting your monitor height, or setting a 15-minute timer for micro-breaks, or bringing a stool on your next portable exam. Add another element next week. Within a month, the full protocol becomes second nature.
Your body is your most important professional tool. Protect it with the same care you give to maintaining your ultrasound equipment, and it will support a long, sustainable career in diagnostic imaging. If you’re exploring travel contracts in sonography and want to discuss facilities with strong ergonomic support and equipment, email contact@intuites.healthcare with your specialty and the regions you’re considering.
Sources
Ready for your next imaging assignment?
Browse open imaging jobs across the US — weekly pay, stipends, and a recruiter who reads every application.